Audio Reactive Visuals: How They Work and How to Make Them
Update, 20 November 2026: Shimga's free exports now go up to 720p at 30 fps with a small "Made with shimga.app" watermark, and Pro elements and templates are included. 1080p to 4K, 60 fps, exports without the watermark and videos over 5 minutes need Shimga Pro or credits. Where this article mentions free 4K or no watermark, it describes the earlier free tier.
Short answer: Audio-reactive visuals are animations driven by audio data, usually from a Fast Fourier Transform that splits sound into frequency bands, so a kick, hi-hat or vocal each moves something different on screen. In Shimga Studio you load a track, choose which band drives which setting, and export an MP4; you can build, preview and export without signing in.
Last updated 21 October 2026.
What are audio-reactive visuals?
An audio-reactive visual is any graphic element (a waveform, particle field, 3D shape, text or spectrum bar) whose properties are driven by audio data rather than a fixed animation timeline. Remove the audio and the visual goes still. That link between sound and motion is what makes the result feel alive instead of decorative.
They appear in YouTube music uploads, Twitch and live streams, Spotify Canvas loops, Reels and TikTok clips, and large LED walls at clubs and festivals.
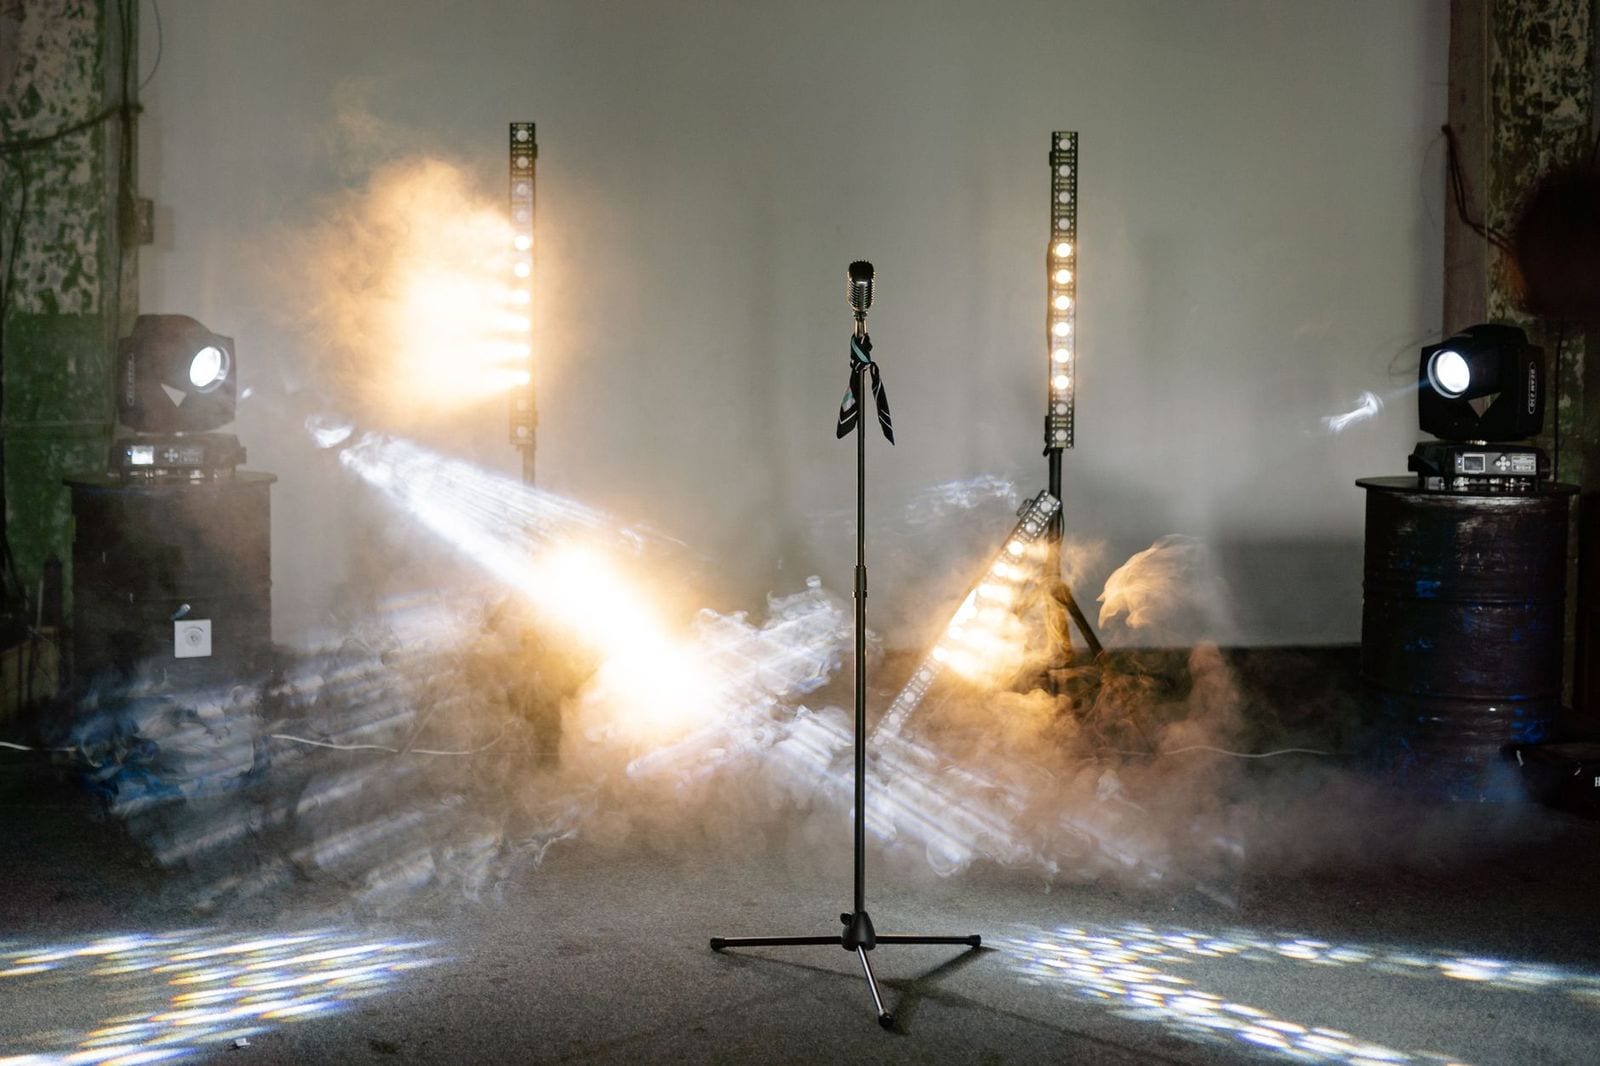
Photo: Yan Krukau on Pexels
How does audio reactivity work?
Reactivity relies on a Fast Fourier Transform (FFT), which turns a waveform (amplitude over time) into a frequency view (amplitude at each frequency at a moment in time). In the browser, the Web Audio API's AnalyserNode returns an array of frequency values for every frame. Animators then map frequency ranges to visual properties:
| Range | Typically carries | Common visual mapping |
|---|---|---|
| Sub-bass, about 20 to 60 Hz | Kick drum | Scale pulse, camera shake |
| Bass, 60 to 250 Hz | Bassline | Particle intensity, bar heights |
| Low-mids, 250 to 500 Hz | Rhythm section | Saturation, glow radius |
| Mids, 500 Hz to 2 kHz | Vocals, instruments | Brightness, text size |
| High-mids, 2 to 6 kHz | Guitars, synths | Background opacity |
| Highs, 6 to 20 kHz | Hi-hats, cymbals | Sparkle particles, texture overlays |
Because ranges are separate, the kick can do something different from the snare and the bassline something different from the vocal. That multi-band mapping separates good audio-reactive art from a plain volume meter. See audio frequencies and reactivity for more.
For exports, Shimga analyses the whole audio file offline, captures the spectrum at the exact time of each output frame, and renders each frame from that data. The MP4 stays in sync even if your computer is busy during rendering.
What types of audio-reactive effects exist?
Frequency spectrum bars
A row of vertical bars, each showing the level of one frequency band. Easy to read and clear even at small sizes. See spectrum analyzers explained.
Circular or radial spectrum
The same data arranged around a circle, often with artwork in the centre. It suits square (1:1) and vertical (9:16) layouts.
Waveform
Amplitude over time, like a DAW's timeline view, animated against the audio. See the waveform generator guide.
Particle systems
Many small particles whose speed, size, colour or direction follow audio energy. Bass can spawn more particles; highs can change their colour or path.
Shader-driven visuals
GPU fragment shaders can create plasma, fluids, fractals and terrain, with shader variables wired to frequency bands. See GLSL shaders for music visualization.
Typography and lyrics
Text that scales or bounces on the beat, often used for lyric videos. See adding lyrics to a music video.
How do you make audio-reactive visuals in Shimga?
- Open shimga.app/studio in Chrome or Edge.
- Load your MP3, WAV, OGG, FLAC or M4A file. The visual begins reacting straight away.
- Choose a preset: spectrum bars, circular spectrums, particles, shader backgrounds or waveforms. Community templates are another starting point.
- Link numeric settings to the bass, mids, highs or overall level, and adjust sensitivity and smoothing, colour and glow.
- Add a background image or video if you want one.
- Pick a resolution, frame rate and aspect ratio (16:9, 9:16 or 1:1).
- Export the MP4. The video renders on your device, with no server queue.
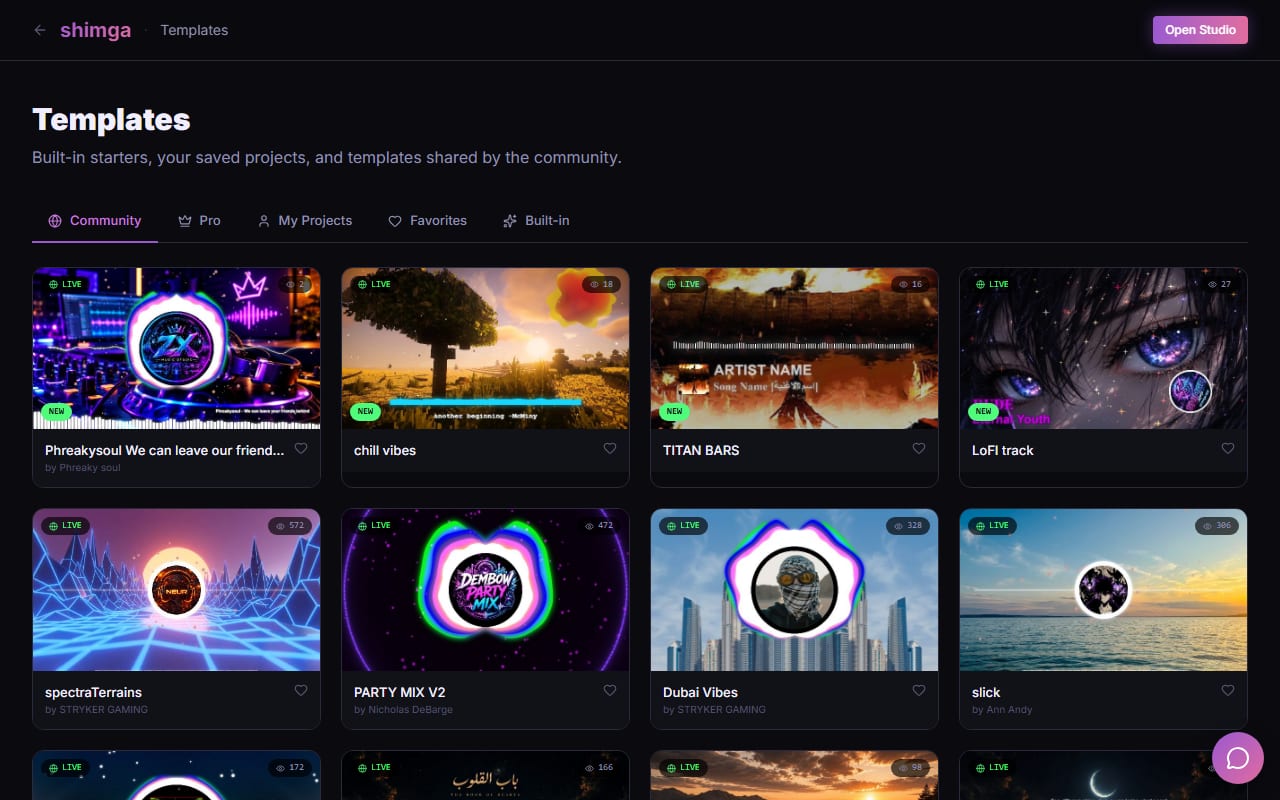
Screenshot: shimga.app
Which approach suits which job?
| Approach | Strength | Trade-off |
|---|---|---|
| Shimga (browser) | Quick MP4 exports, no install, per-band reactivity | Not a live VJ tool |
| After Effects with audio effects | High quality ceiling and full control | Subscription, powerful machine, steep learning curve |
| Processing or p5.js | Unlimited creative control through code | Requires programming |
| Resolume or TouchDesigner | Live, real-time visuals for events and installations | Overkill for a YouTube upload |
What does exporting cost in Shimga?
Exports up to 5 minutes are currently free up to 720p at 30 fps with a small watermark (Pro elements included); Pro goes up to 4K at 60 fps with no watermark. Pro covers longer videos and Pro layers such as Circle Spectrum and Particles V3: $5 per month or $48 per year with a 7-day free trial, $3 for 6 Pro exports, or $131 + tax for Lifetime. A Pro scene can also be exported with the Pro elements removed.
How should you set up visuals per platform?
- YouTube (16:9): export at 1080p or higher with a healthy bitrate, and avoid ultra-fine particle detail, which compresses poorly. Multi-band reactivity keeps quiet passages interesting.
- Spotify Canvas (9:16): a short, seamless 3 to 8 second loop. See the Canvas guide.
- Reels, TikTok and Shorts (9:16): make the visual move on the first beat rather than fading in slowly.
- Streams: Shimga exports files rather than live feeds. For true real-time reactivity on stream, use a live tool; see Twitch music visualizers.
Photo: Pachon in Motion on Pexels
How do you get better audio-reactive art?
Use several frequency bands
Do not wire everything to one band. Try kick to scale, bass to colour intensity, hi-hat to particle count and vocals to the opacity of a second layer.
Add smoothing
Raw FFT values jump every frame. Smoothing lets values rise quickly and fall slowly, closer to how we hear loudness.
Match pace to genre
A slow lo-fi track suits gentle drift and gradual colour change; fast drum and bass can handle sharp spikes and rapid flashes.
Keep quiet passages alive
Add a slow background element such as shader noise or drifting particles so intros and breakdowns do not go blank.
Preview after compression
Watch the uploaded video at the quality your viewers see. If fast, high-contrast visuals show blockiness, lower the contrast or raise the bitrate.
Audio-reactive vs. pre-animated motion graphics
A fixed animation timeline is predictable: the drop hits at the same moment every time. That works for a locked arrangement but breaks down for live sessions or tracks that change between takes. Audio-reactive visuals respond to whatever is playing, so one design works across many tracks. The trade-off is control; a motion designer can choreograph each movement to a specific instrument, while reactivity approximates it. A well-tuned reactive visual often feels more organic.
Frequently asked questions
Can I make audio-reactive visuals without coding?
Yes. In Shimga Studio you load audio, pick a preset and link settings to frequency bands without writing code. You can build, preview and export without signing in.
What software do professionals use for audio-reactive visuals?
It ranges from browser tools like Shimga for file exports to After Effects, and from Resolume or TouchDesigner for live work to creative-coding frameworks such as Processing. File-based tools suit uploads; live tools suit performances.
Do audio-reactive visuals work in every browser?
Shimga needs a browser with WebGL and WebCodecs. Current Chrome and Edge give the best experience, and other modern browsers work for building and previewing.
How long does rendering take?
It depends on your hardware, the resolution and the scene. Rendering happens on your own device, so a stronger GPU shortens it, and there is no server queue.
What is the difference between a music visualizer and audio-reactive visual art?
There is no strict line. "Music visualizer" is the older, general term; "audio-reactive visual art" usually implies more deliberate design such as custom shaders and tuned multi-band reactivity. The same software can make both.
Make your first audio-reactive video
Load a track, link a few settings to the music and export an MP4.
Open Shimga Studio →Related: how to make visuals for music, music visualizer.